Wednesday, 22 October 2014

Contouring Using Makeup Revolution Cover & Conceal Palette Dupe of Anastasia Beverly Hills Contour Kit

So I am going to make another post about contouring and using the Makeup Revolution Cover and Conceal palette. I am going to do it in a little more detail this time around, with more pictures :)

First of all I'd like to point out that this palette is a very close dupe to the Anastasia Beverly Hills Contour Kit, except this is for people who prefer to use creams instead of pressed powders.

So for my face makeup these are all the items I will be using:


As usual my favourite Maybelline primer, fairly cheap Rimmel foundation, Makeup Revolution Cover & Conceal palette, e.l.f blusher and e.l.f High Definition powder (most products available in my ebay shop).

So this is me with just foundation (very unflattering angle):


And this is me after I have slightly contoured my face using Makeup Revolution Cover & Conceal, I also applied e.l.f Cream Blush:


I have the Makeup Revolution palette in Medium Dark shade, which is definitely a little too dark. So I have used the lightest shade to conceal and highlight my undereyes, the bridge of my nose, mid forehead, chin and just a little around my lips. I have used third darkest shade all around my hairline, a little on my jawline and cheekbones. Then the next part was to use cream blush on the apples of my cheek, but I use it very lightly, so to not look like a clown but just "healthy". This is to give you an idea:


Found a better angle and lighting, I have also applied e.l.f High Definition Powder to set everything and as usual used MUA Highlighter in Iridescent Gold on the highest part of my cheekbone:


The next step in my routine are my eyebrows. As I have shown you guys before, I always use my MUA Eyebrow Kit. I look weird with such dark eyebrows and eyes still not done lol:


They actually look too dark, but I will have very dark eyes, so should work out in the end:


And here are my eyes:


I have bought a new eyeshadow brush, e.l.f Blending Brush, and it is amazing. It makes it so much easier to to do a smokey eye, I think I will definitely start stocking these in my shop! But for the eyes I've used MUA Undress Me Too Eyeshadow Palette:


And this is me, the same evening out:
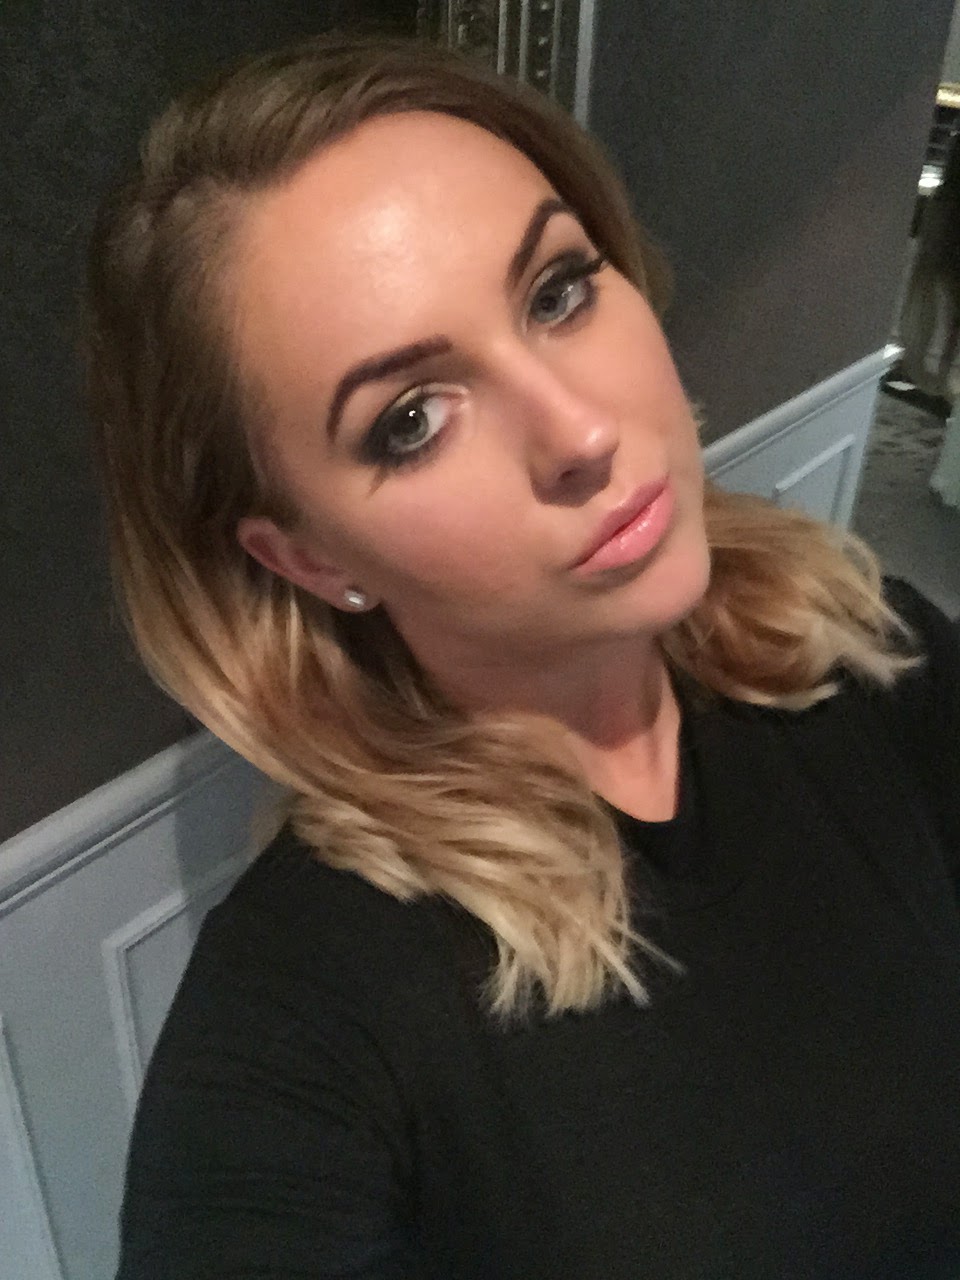


 This makeup is very late at night, stayed on very well, although me, myself got a little tipsy haha:


Thought I will also share Piccadilly Circus at night, looked pretty:


Also this was my overall look for the evening, kept it very simple:
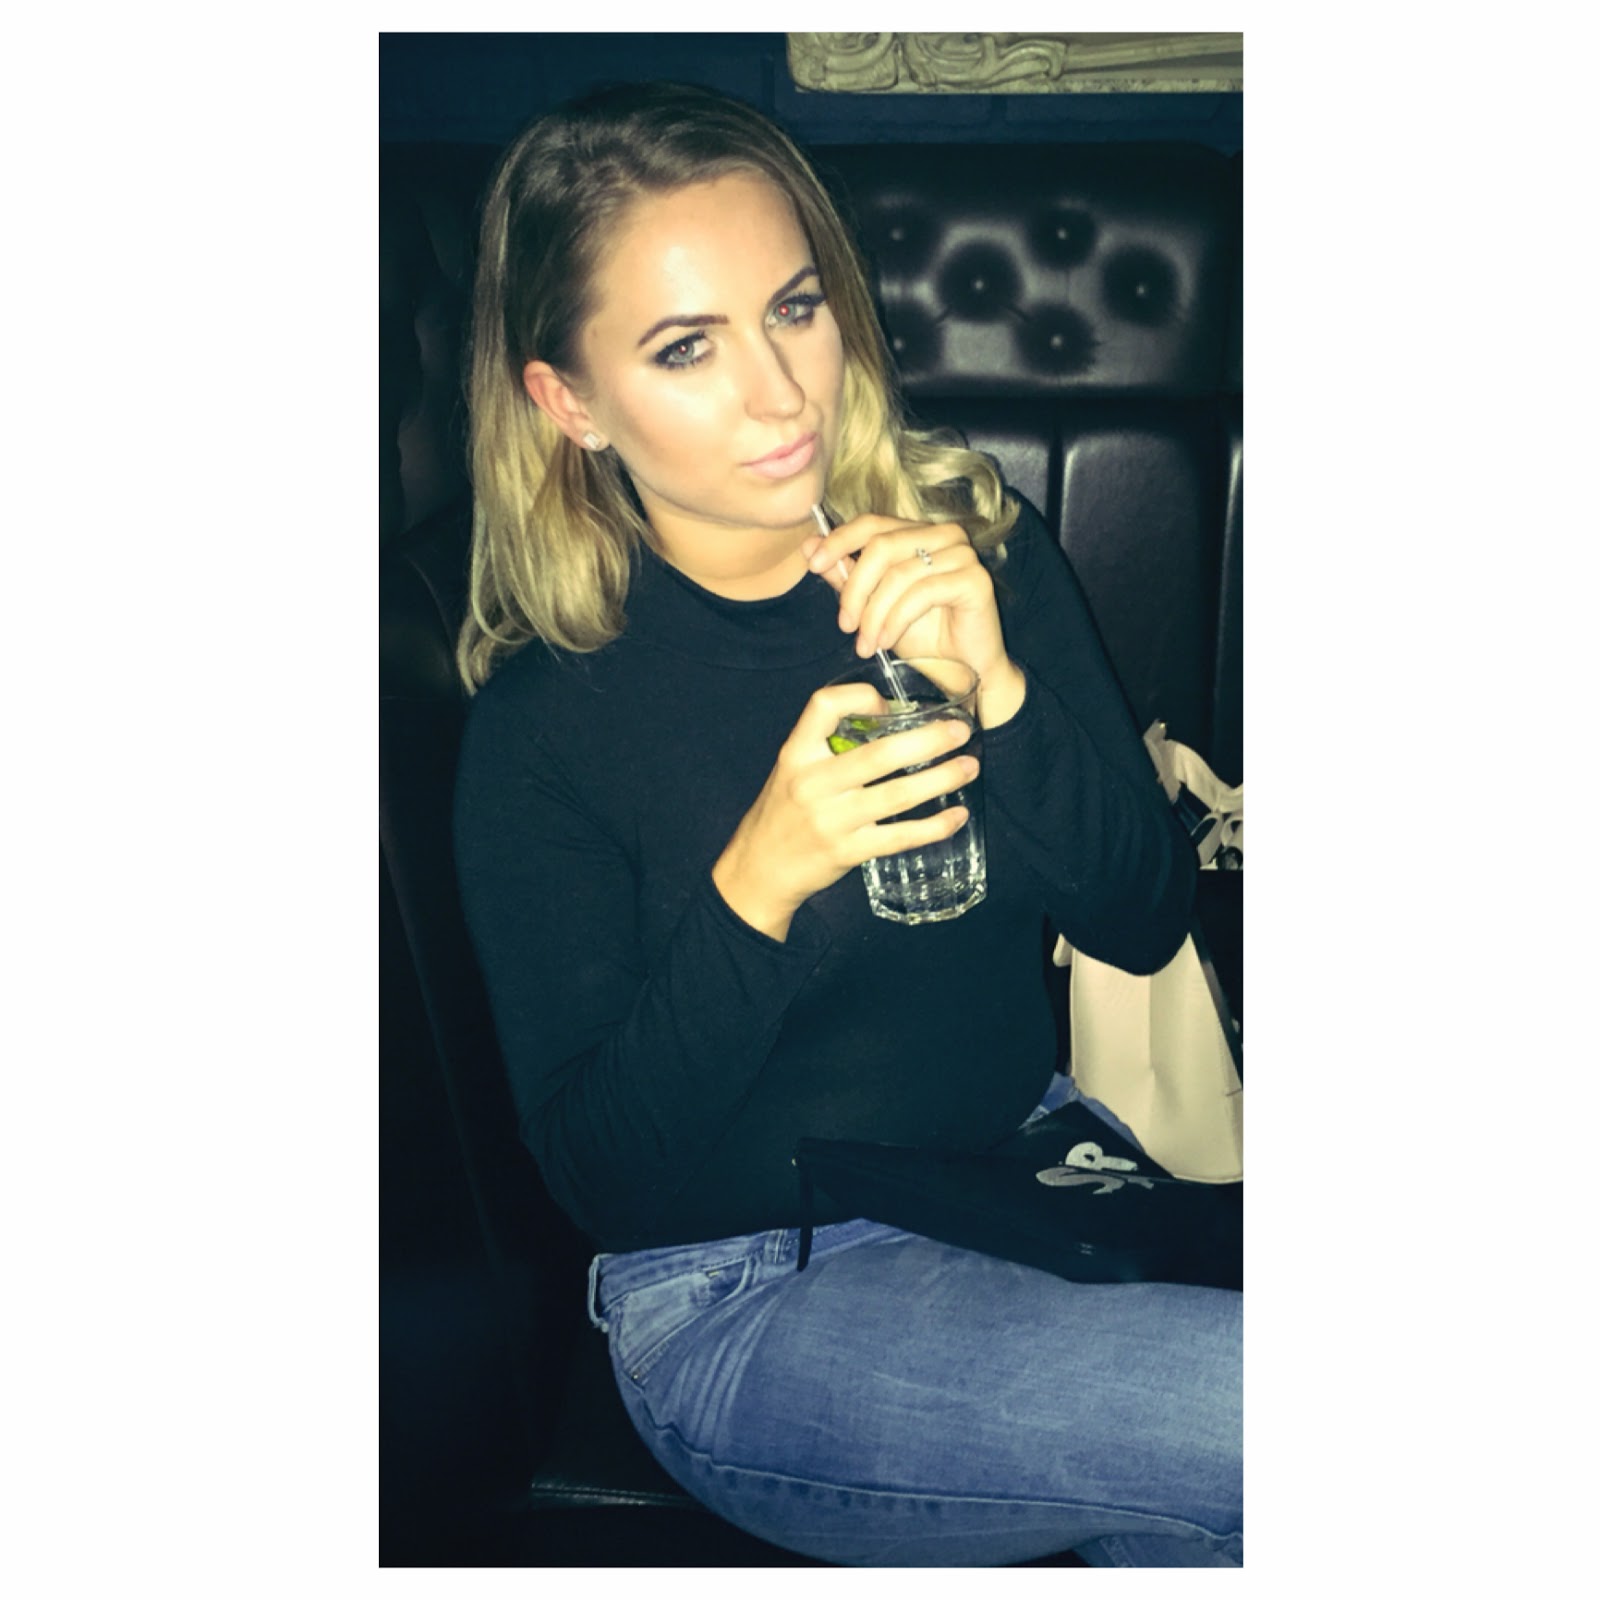
 Thank you for reading and have a look at my shop, 5% OFF for my blog readers if you follow this link to the shop: http://ebay.us/ziXxk0 (Offer ends 31/10/2014)

Lots of love,
Sant Lucijaa!

xoxo

Tuesday, 21 October 2014

5% OFF On My Ebay Shop For My Blog Readers for orders over £30 :)

So I have decided to treat my blog readers and introduce 5% OFF for orders over £30!

To get the discount just go to the shop through this link: http://ebay.us/ziXxk0

Offer ends on 31/10/2014 :)


Lots of love,
Sant Lucijaa!

xoxo

Maybelline Baby Skin Instant Pore Eraser Review

I thought I will share my favourite product that I always use for pores, as I've already mentioned in previous posts!

This definitely works! My only advice is to clean, tone, moisturise and let it dry before you apply this primer. If I have a spare minute I always let the primer "cook" on my face for a bit, before applying foundation with stippling brush!


I also have it in my ebay shop, if you like have a look at it here.

Lots of love,
Sant Lucijaa!

xoxo

Saturday, 11 October 2014

Kim Kardashian Contouring Using Makeup Revolution Cover and Conceal Palette

Just a quick post about a new product that I have tried today for contouring. Normally I use MUA Pro-Base Conceal & Brighten kit to contour, but today I have tried Makeup Revolution Cover and Conceal palette in shade medium-dark.


(http://www.ebay.co.uk/itm/MAKEUP-REVOLUTION-COVER-AND-CONCEAL-PALETTE-CONTOURING-HIGHLIGHTING-CONCEALER-/271605890576?ssPageName=STRK:MESE:IT)
These palettes come in three shades, light, light-medium and medium-dark. I think I was wrong to go for medium-dark and I should have gone with light-medium. However I loveee itt, definitely think its better than MUA kit I've been using, as you can mix shades as well as can go for a bit more tanned look for nights out and more natural during daytime.
My palette's mirror smashed, very upsetting.. nonetheless this is my palette:
Today I've only used the darkest and the lightest shades to see how it mixes, but I will definitely make another post about this product when I try other shades making more pictures while I go along!
This is my look in the end:


Right after I put makeup on, I decided it was time to have a nap haha!


And then to my delight, my cousins made me coffee and we went McDonalds... Fat I know..


Have a look at my shop to find all sorts of makeup products here!

Lots of love,
Sant Lucijaa!

xoxo


Wednesday, 8 October 2014

Kim Kardashian Yellow Primer Contouring Tutorial using MUA Pro-Base Prime and Conceal!


I've been having a shitty week for no particular reason, basically just grumpiness out of boredom... and then my dad brought me chocolate cake! Everything changed. All of a sudden I decided I wanted to do a make up look and show off the newest make-up products that I've been loving recently.

So I wanna brag about this primer fix to redness this:


(Available here )

So first of all I've applied foundation and I naturally have redness in my cheeks so it is always a bit of a challenge to cover it properly.

Here is a picture of the side of my face with just foundation:


And here is the side of my face with foundation and MUA Pro-Base Corrective Yellow Prime & Conceal:


I hate the fact my iPhone images are so unclear, but I'm using the front camera (so I can see the angle I'm taking a picture at), nonetheless you can see the massive difference on my face. Although this is a primer I've actually applied it after foundation as I sometimes feel foundation may rub it off. Always apply translucent powder afterwards (I've used E.L.F High Definition Translucent Powder).

I've done some more contouring using MUA Pro - Base Conceal & Brighten kit, here are pictures of the two different sides of my face again, this time the first picture is of the side with corrective yellow primer and second without (this should be clear anyway):


And this is the front view of the both sides:


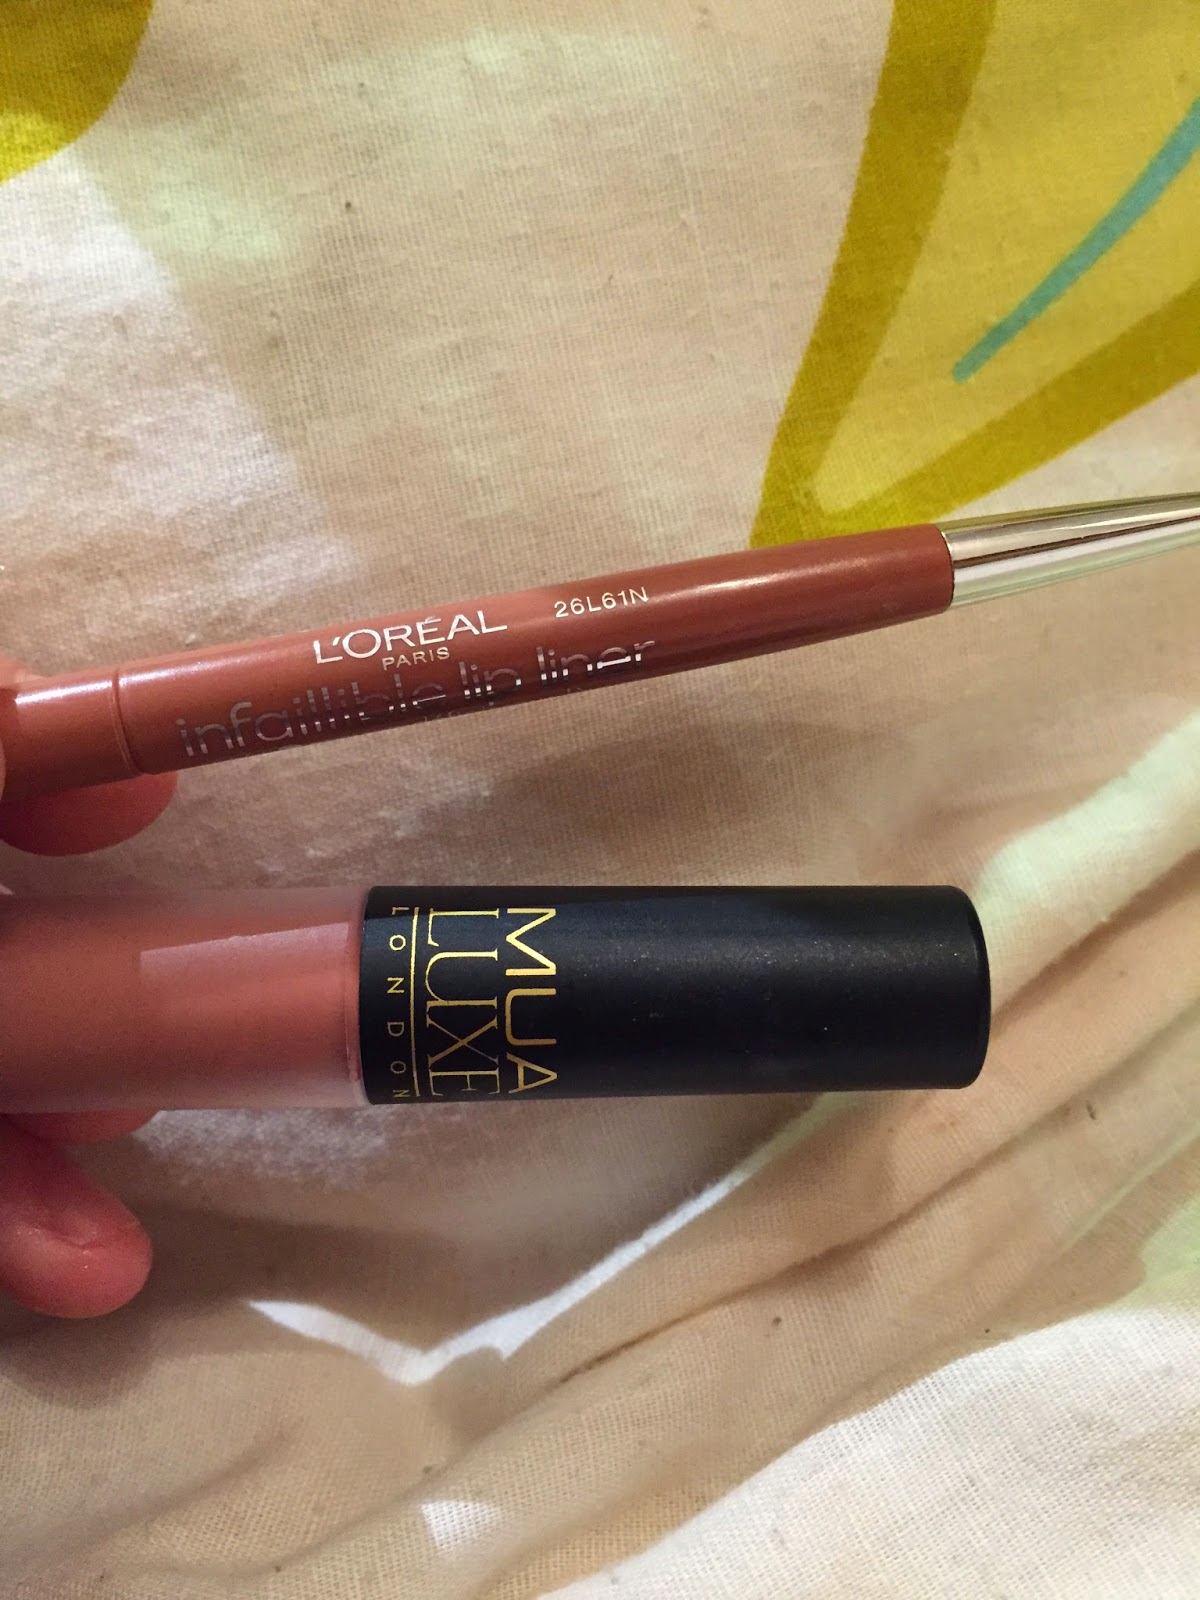
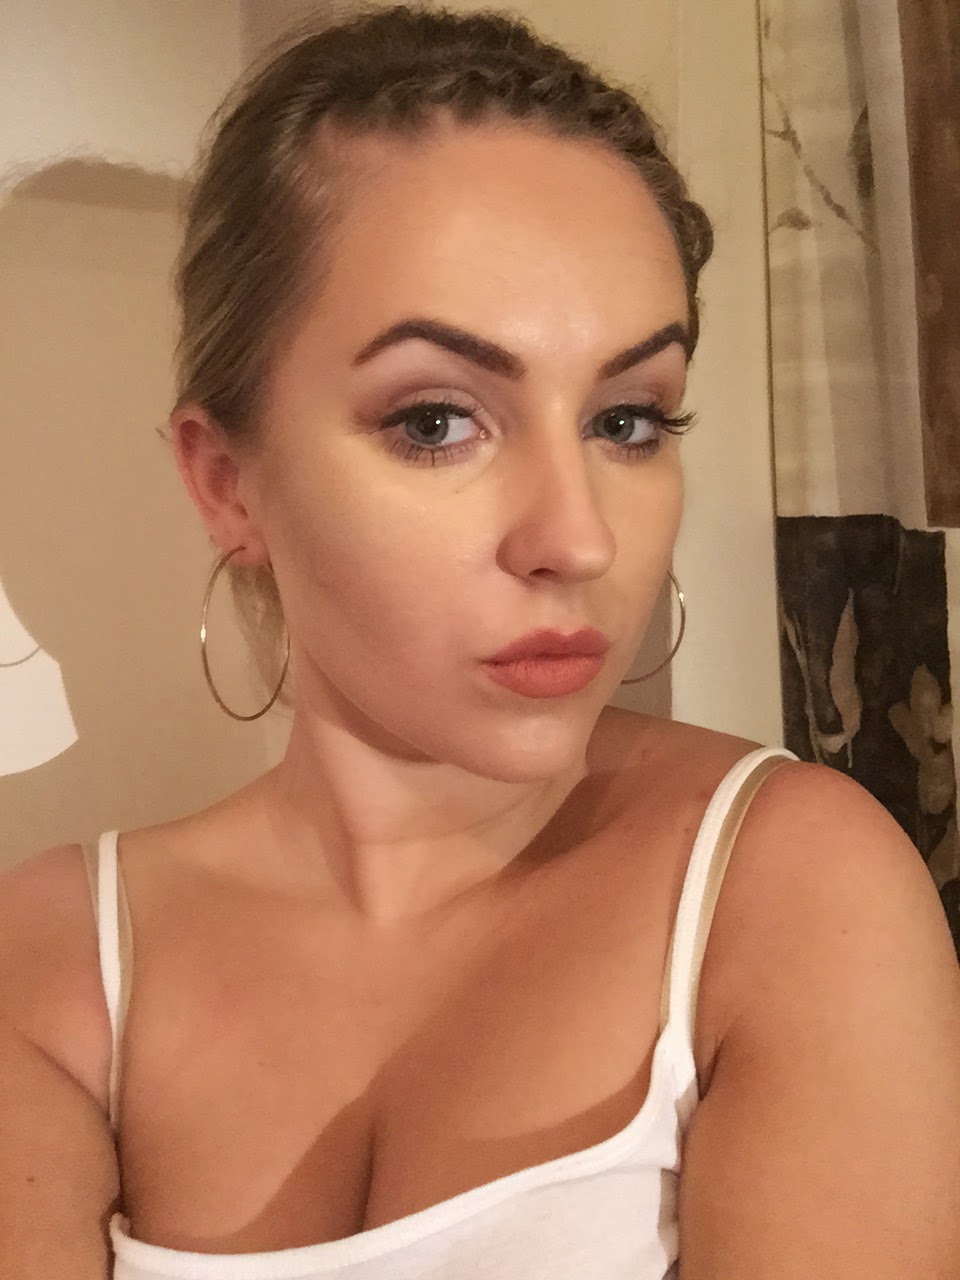
For my lips I chose this MUA Luxe Velvet Lip Laquer in shade Halcyon. I also used Loreal Lip Liner which literally did nothing, useless.


Here is the video of the lips, what it looks like when you apply it and once it dries.


I love the matte colour of this lip laquer.

For this look I've tried so many other new things too. To finish off the look I've used Beauty UK Baked Blush in shade Goddess to exaggerate my cheekbones and get that glowy TOWIE look. I also used (as I always do) a MUA Highlighter in brand new shade Iridescent Gold to highlight my cheekbones just below my eye.


Also I've done a light smokey eye that I have posted a tutorial of previously, you can see it by clicking here. This is what my eyes looked like:


 And here is the final look:


Also for my hair I decided to do a little platt, which always makes you look cuter!

All the products I've used and much more are available on my ebay shop. Just visit and have a look guys, I'm sure you will find something that will change your makeup routine, lots of the products I sell have changed mine!

Lots of love,
Sant Lucijaa!

xoxo


Something about me..


This is me all over...


Lots of love,
Sant Lucijaa!

xoxo

MUA Lipstick in Shade Tulip Review

I have recently started selling new shades of MUA Lipsticks in my ebay shop, and so far I have only tried one lipstick in Tulip shade. Below are pictures to show how it looks on me, I personally like this shade for everyday soft looks, I feel that this shade out of the three new pink shades suits me best.

Tulip shade:


All three new shades:


I wore Tulip lipstick on two separate occasions, which you can have a look at below. These two images have some filters on so I have also included a third image with no filter to help more with understanding of the shade.

First day:
Second day:

No filter image:


 These new lipsticks are highly pigmented as usual, however like most affordable lipsticks they don't stay on for the whole day, nonetheless I love it.

Lots of love,
Sant Lucijaa!

xoxo